Wednesday, 25 April 2012
Creating a Typographic Wallpaper

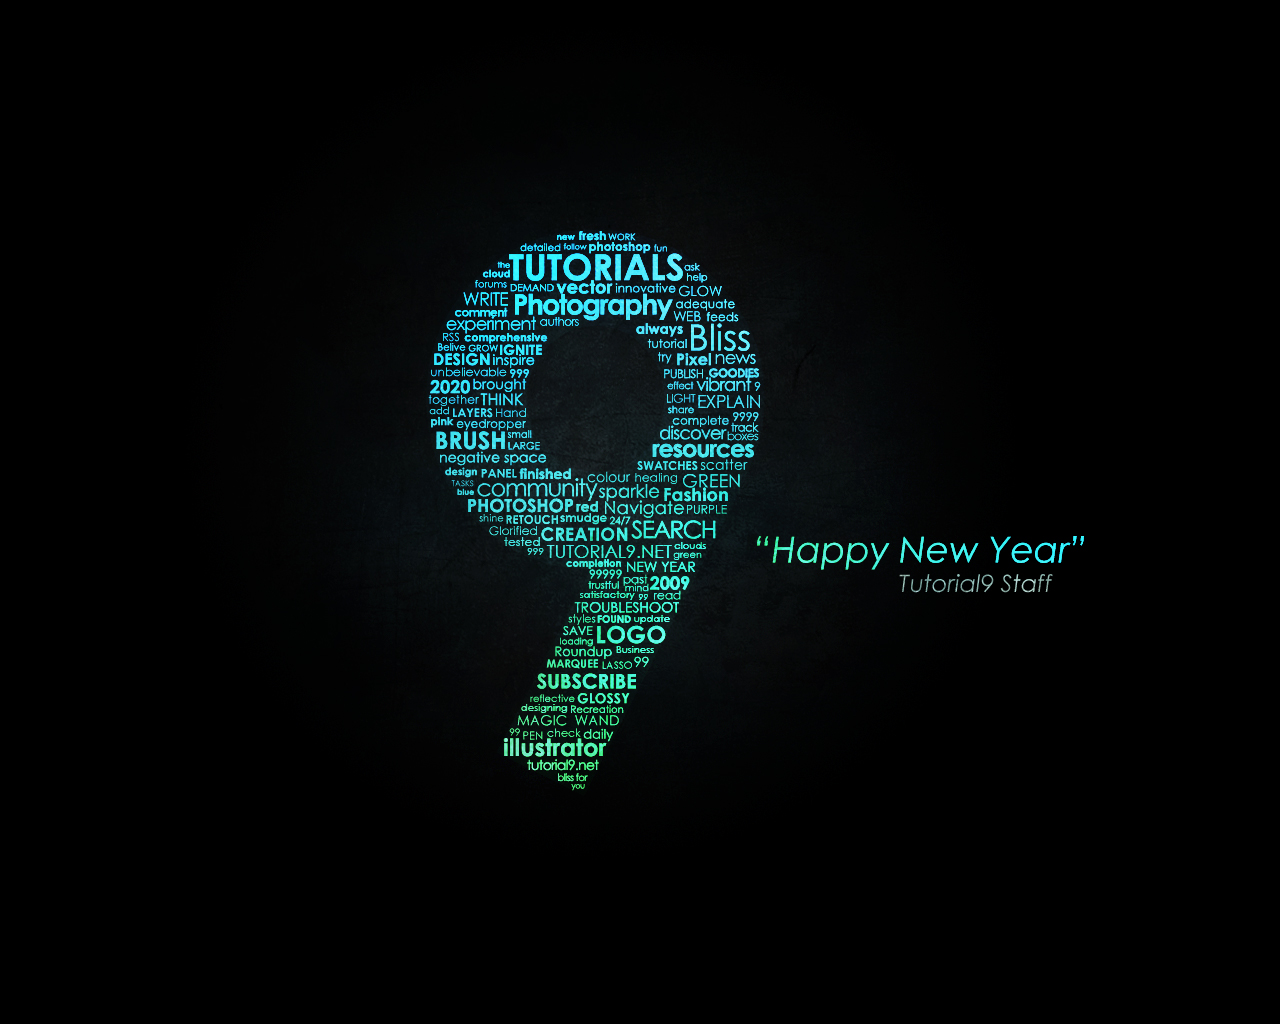
After writing my previous tutorial here about
Creating a Zune in Photoshop, several viewers asked if I’d share how I
created the wallpaper graphic. In this tutorial, you’ll learn how to
make something similar, and it’s quite easy!
What is Typography?
In order to create a typographic wallpaper, it would make sense to know a bit about Typography in the first place. Typography is the art and technique of arranging movable type. What does this mean? It means that text itself portrays a message all of its own. Its location, font-family, font-style, color and size all determine the message it portrays. Using a really blocky font for a wedding image wouldn’t make sense, because blocky text isn’t elegant or extravagant, like cursive and curly fonts can be. While this tutorial won’t focus on the essence of typography, understanding what makes type look good will help to create a great design.This is by no means an in depth look at typography. Typography is a subject folks have written many, many books on, and there is a lot to be learned about it. I’d definitely suggest picking up a book like "Thinking With Type" if it’s something you find interest in.
Super Easy Typographic Portrait in Photoshop
We have also posted a little tutorial showing how to do that using, Flash Photoshop Quick Tips #5 - Typographic Portrait, however I decided to create a nice typographic effect using just Photoshop.
So in this tutorial I will show you how to create a really cool and super easy typographic portrait in Photoshop. We will use the Displace filter and some Blend Modes to achieve the effect. The whole process is quite simple but it might take you some time to add the texts and elements, but once you do that the rest is very straight forward.

So in this tutorial I will show you how to create a really cool and super easy typographic portrait in Photoshop. We will use the Displace filter and some Blend Modes to achieve the effect. The whole process is quite simple but it might take you some time to add the texts and elements, but once you do that the rest is very straight forward.
Create a Cool Wet Ink Typography Effect in Photoshop
Follow this Photoshop tutorial to create an awesome distorted type
design. Using a range of Photoshop brushes we’ll create the appearance
of printed type that has come into contact with drops of water, breaking
up the text with oversaturated drips, runs and splats.


I was recently out at the clothes store and came across a cool t-shirt by Diesel. The design featured some nice typography that had been treated to some image manipulation to give an awesome effect of wet ink, as if the design has come into contact with drops of water that distorted the print.


I was recently out at the clothes store and came across a cool t-shirt by Diesel. The design featured some nice typography that had been treated to some image manipulation to give an awesome effect of wet ink, as if the design has come into contact with drops of water that distorted the print.
Make a typography face in photoshop
This a tutorial shows you how to give any normal face ia typography texture and this is the final result :


Subscribe to:
Comments (Atom)
Popular Posts
-
Follow these steps in Adobe Illustrator and Photoshop to create a range of vector shapes and graphics that can be combined into a great lo...
-
Final Product What You'll Be Creating A few times a each month we revisit some of our reader’s favorite posts from t...
-
Today we’re going to learn how to create a super creative collage effect, using a range of photo manipulation, blending and compositional ...
-
 This a tutorial shows you how to give any normal face ia typography texture and this is the final result :
 -
Follow this step by step post processing guide to give your photos a dark lomo style effect with high contrast, blue tones and vignette bu...
-
Follow this Photoshop tutorial to create an awesome distorted type design. Using a range of Photoshop brushes we’ll create the appearance ...
-
Follow this logo design process walkthrough to see the making of a cubist style logo design made up of lots of detailed vector facets. Not ...
-
Intro This photomontage by Serbian illustrator Becha was created for an haute couture fashion editorial called Silent Spring that appeare...
-
Posted by Tyler Bramer in Photoshop Tutorials on March 10th, 2009 After writing my previous tutorial here about...


